Making Decals at home
As with most other things associated with scratch building model ships, the right decals are often very difficult to find. I have tried to produce my own decals or stickers for things like hull numbers etc with varying degrees of success over the years. I have now settled on a process that suits most of my needs.
The major problem is still printing white as most printers do not print white. For large white areas you can use white decal film and cut the decal very close to the line but for small areas this is not really possible.
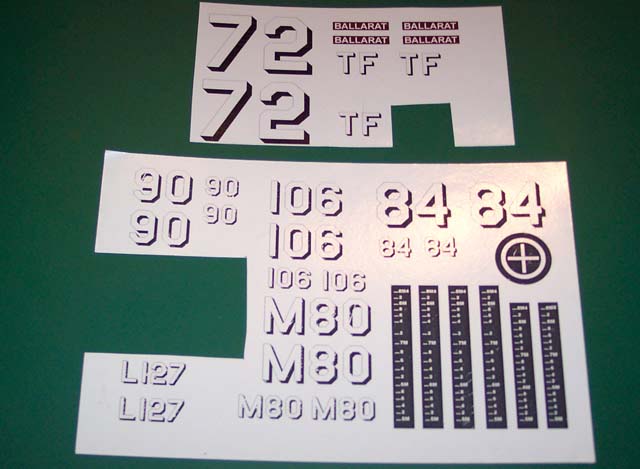
Some decals that I produced for my models.
How it works
I have found that I can get acceptable results using both clear and white inkjet decal film The process is pretty easy and is well within the capabilities of the average modeller. Basically you draw the image for your decal using a computer, you scale it to the right size and print the image onto the decal film. After the ink has dried you seal the decal with a clear coating. The decal can then be cut out, soaked in water and applied to the model just like any other water slide decal. It all sounds easy but in reality there are a few things that can go wrong.
The settings of your printer have a big part to play in producing acceptable results. Often it will take a bit of experimentation to get things right. I know with my printer I get better results if I set the printer properties as if I wanted to print draft quality on plain paper. Many of the high resolution photo quality settings deposit too much ink on the page which tends to run or smudge when using the decal film.
Using drawing and photo manipulation software such as Corel Draw and Photoshop on the computer I am able to produce the artwork for the required decals. This art work is generally done at a size much larger than that required and then scaled to the correct size before printing onto the decal film.
The equipment required
Below is a list of equipment that I use to produce decals.
I am assuming that if you want to have a go at making your own decals then you have access to a home computer and an injet printer of some sort. The computer needs to have drawing and photo editing software installed. I use Corel Draw and Photoshop but any similar programs will do as long as you are able to manipulate and scale drawings and pictures.
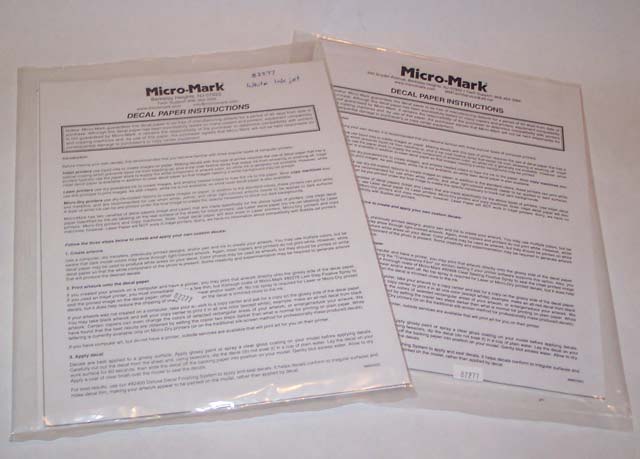
You will also need inkjet decal film. This is available from most hobby shops at a reasonable price. I use decal film that I purchase over the internet from Micro Mark.
You will also need some sort of clear spray coating to seal the ink of the decals. After the decal has been printed and the ink has fully dried it is important to seal the printed design onto the decal film prior to trimming the decal and placing it in water. If you don’t seal the decal then the ink will run and ruin all of your hard work. There are special sealing sprays available but I use whatever clear gloss that I have to hand. Several very light coats of clear are all that is required to seal the decals prior to use. I have used spray cans as well as clear enamels through an airbrush.
The decals can be cut from the sheet and fixed to the model in exactly the same way as commercially produced decals.


