
I have often moulded small bits and pieces for my models in resin but have found that the quality of these items can be affected by air bubbles in the rubber moulds or in the resin. To overcome this problem I decided to make a vacuum chamber to draw the air bubbles out of the resin during the moulding process.
I decided on a simple bell jar type vacuum chamber so that I could see what was happening inside when it was operating.
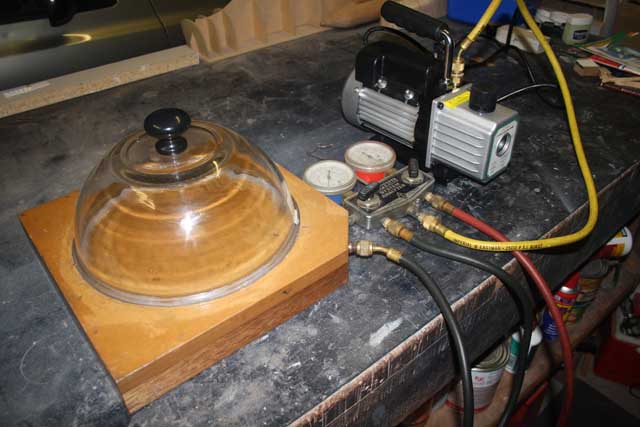 The vacuum chamber set up with a vac pump and a valve (in this case a refrigeration gauge set).
To start with, I raided the kitchen and found a 250mm diameter glass mixing bowl that would do the job. I drilled a small hole in the base of the bowl, (using a diamond point in the dremel), and then fitted a draw knob as a handle.
The base was made from two pieces of 300mm x 300mm x 9mm MDF. The top sheet of MDF had the center cut out so that the upside down bowl would fit inside. A frame was made for the MDF sheets to sit on top of and to allow room for the connection pipe underneath. The connection was made from a couple of pieces of copper pipe soldered together.
All of the wood was given several coats of varnish to seal it and then a seal was made for the lip of the bowl by placing a bead of silastic down and the placing the bowl ontop until the silastic goes hard. I had to grease the lip of the bowl to ensure that the silastic did not stick to the glass while it was drying.
As a vacuum source I purchased a small refrigeration vacuum pump. To connect the vacuum pump to the chamber I used an old refrigeration gauge set. A simple shut off valve could be used at the inlet instead.
 The top of the vacuum chamber. The bowl sits in a seal made from silastic.
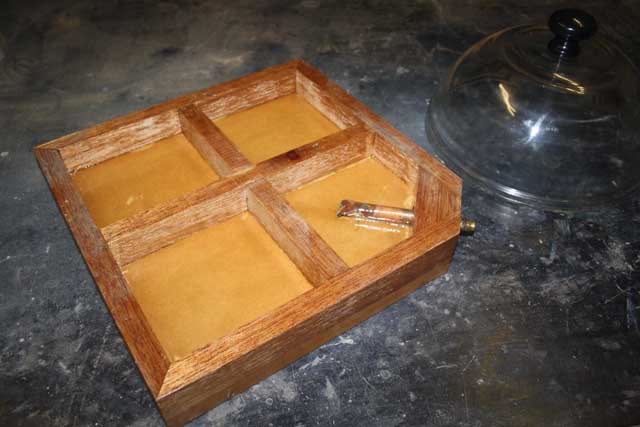 The underside of the vacuum chamber showing the inlet connection.
 An exploded view of the vacuum chamber base parts.